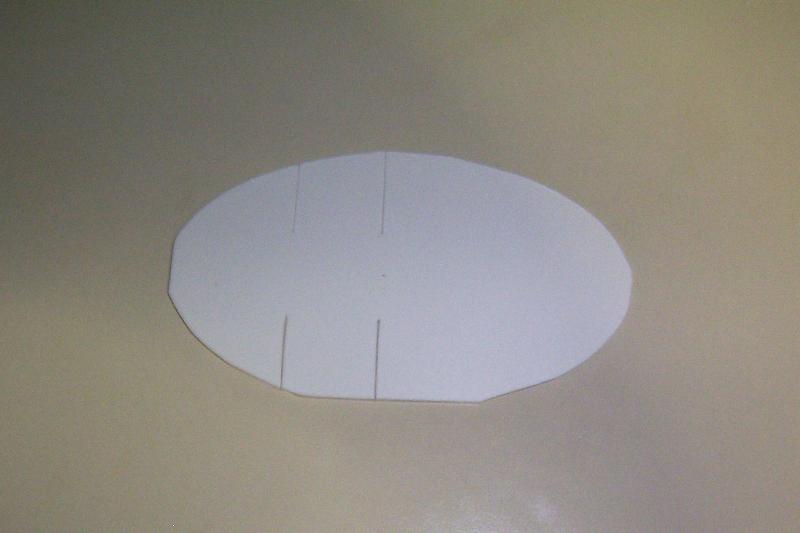
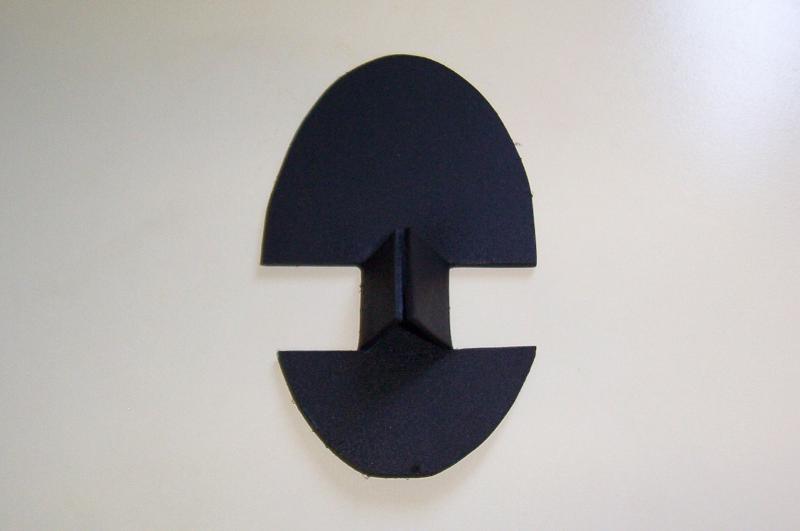
Measure the ladybug shell and design the base.
Sintra Template
Cut the base out of 2mm Sintra.
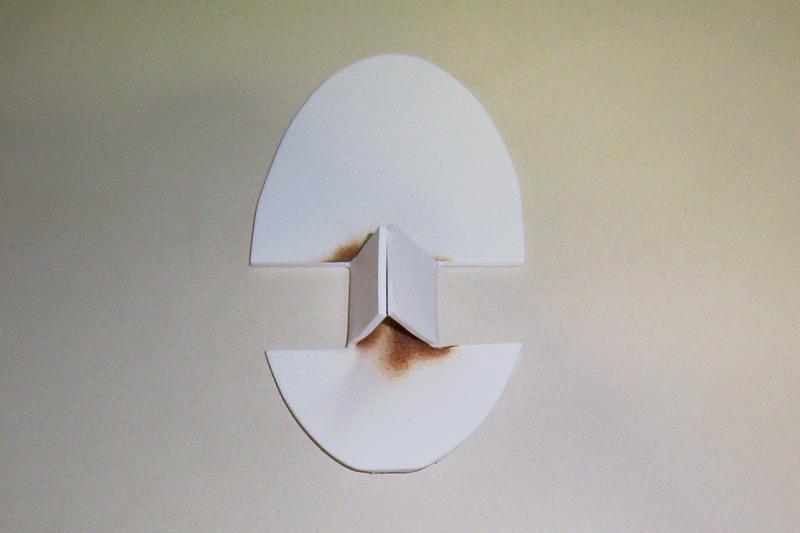
Sand the curves down. Bend the motor mounts up.

Paint the base with three layers of black rubber Plasti-coat paint.

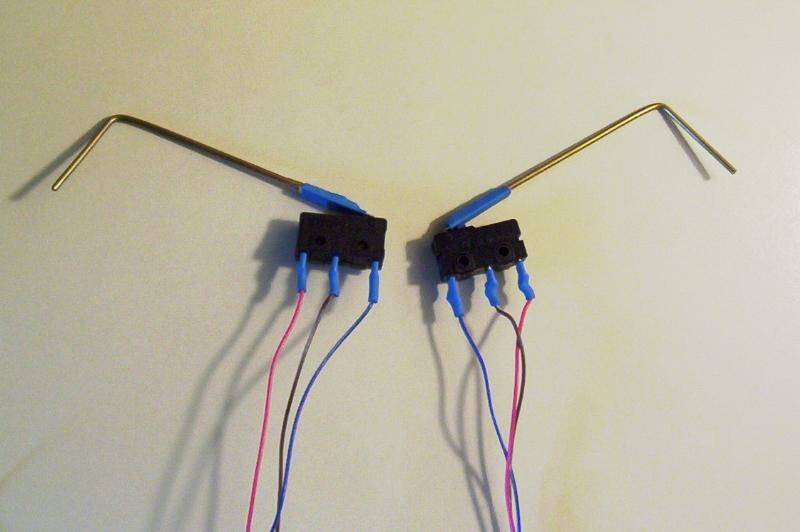
Bend 1/16" brass rods to form the tactile sensors. Use epoxy to attach the brass rods to the SPDT switches. Reinforce the connection with heatshrink tubing.
Solder wires to the switches: red to normally closed (NC), brown to normally open (NO), blue to common (C).
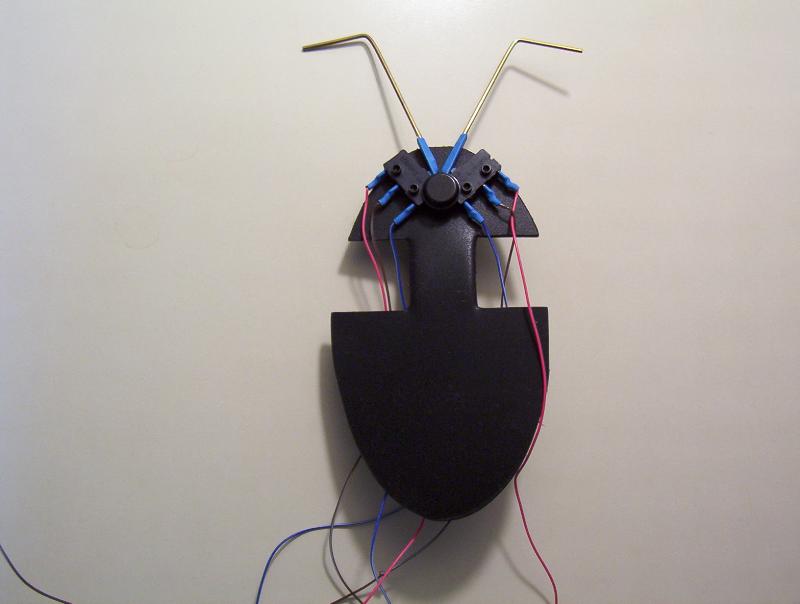
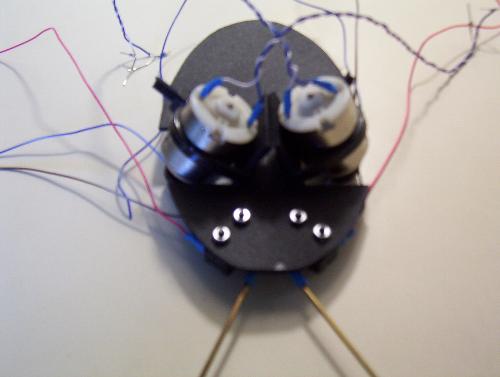
Use the switches as place holders on the Sintra base. Drill two 7/64" holes for each switch. Secure the switch to the base using 4-40 bolts and nuts.
When both switches are in place, super-glue one cushion onto them.

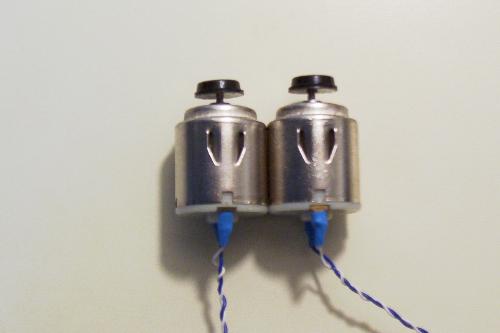
Take the two motors. For each one, solder a blue wire for the Vcc connection, white wire for Gnd. Drill a 1/8" in a cushion. Use epoxy to secure the cushion to the motor shaft, forming a wheel. Run the DC motors while the epoxy sets. When dry, use a wire tie to attach the motor to the base.
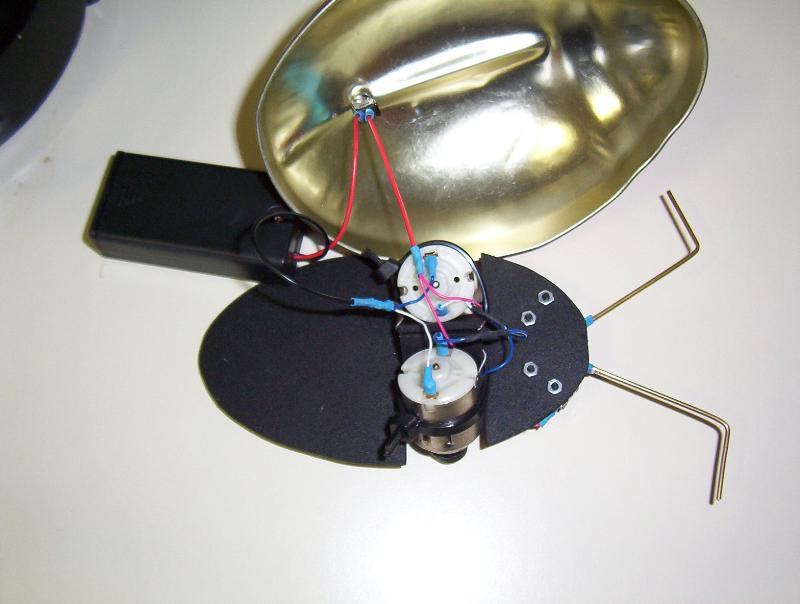
Solder the tactile switches red wire to the power switch, brown wire to the battery pack's Gnd, and blue wire to the corresponding motor's blue wire. Solder the power switch to the battery pack's Vcc.
Test the robot. Both motors should spin in opposite directions when you turn the robot on. When you press a tactile, the opposite motor should turn off.
Drill and mount the power switch onto the ladybug shell.
Drill one final hole in the ladybug shell and the Sintra base. Bolt the base onto the shell.
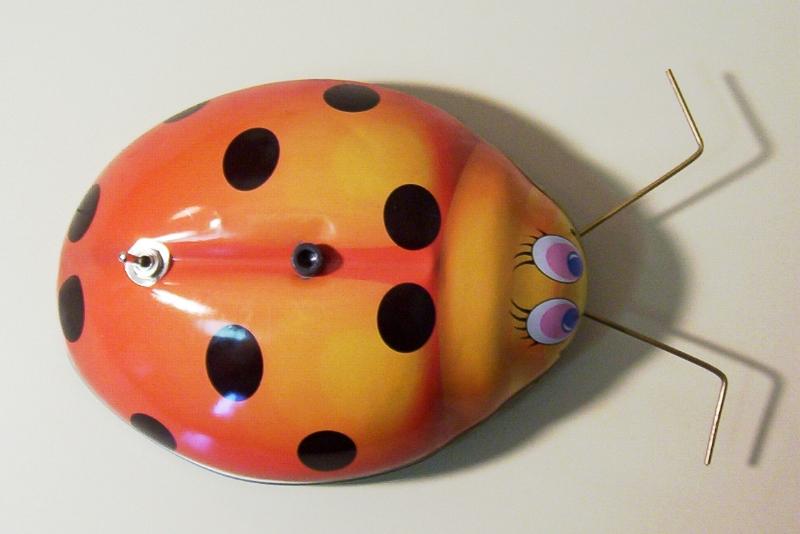
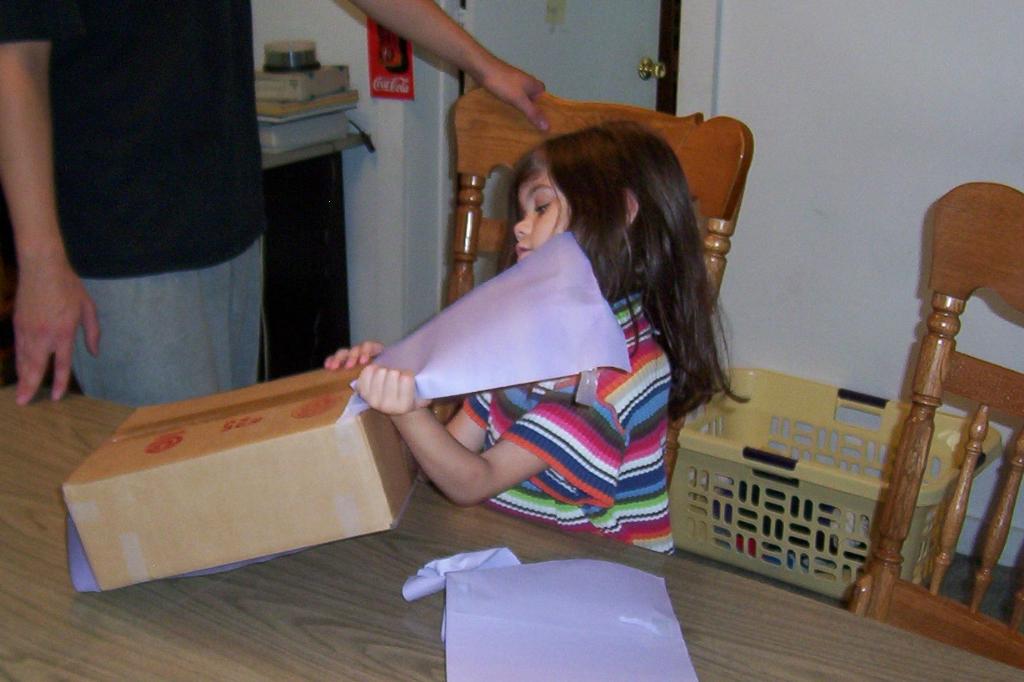
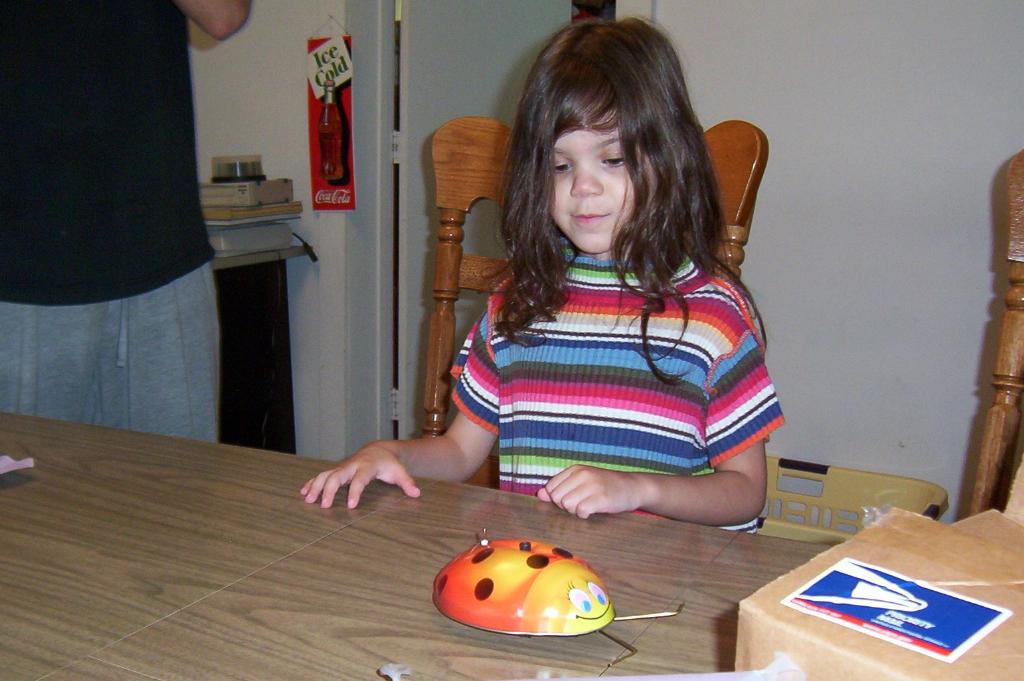
Test the ladybug extensively in "real world" environment (e.g. give it to Riese and watch her play with it :).