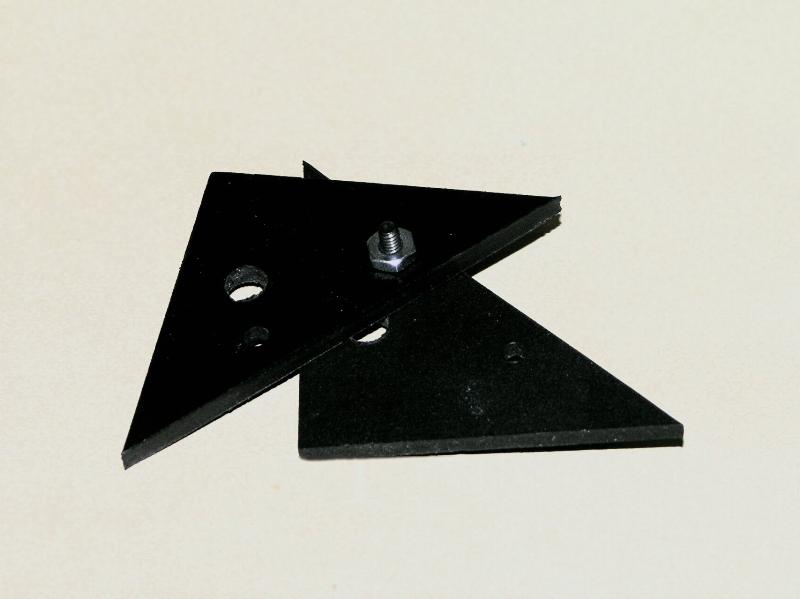
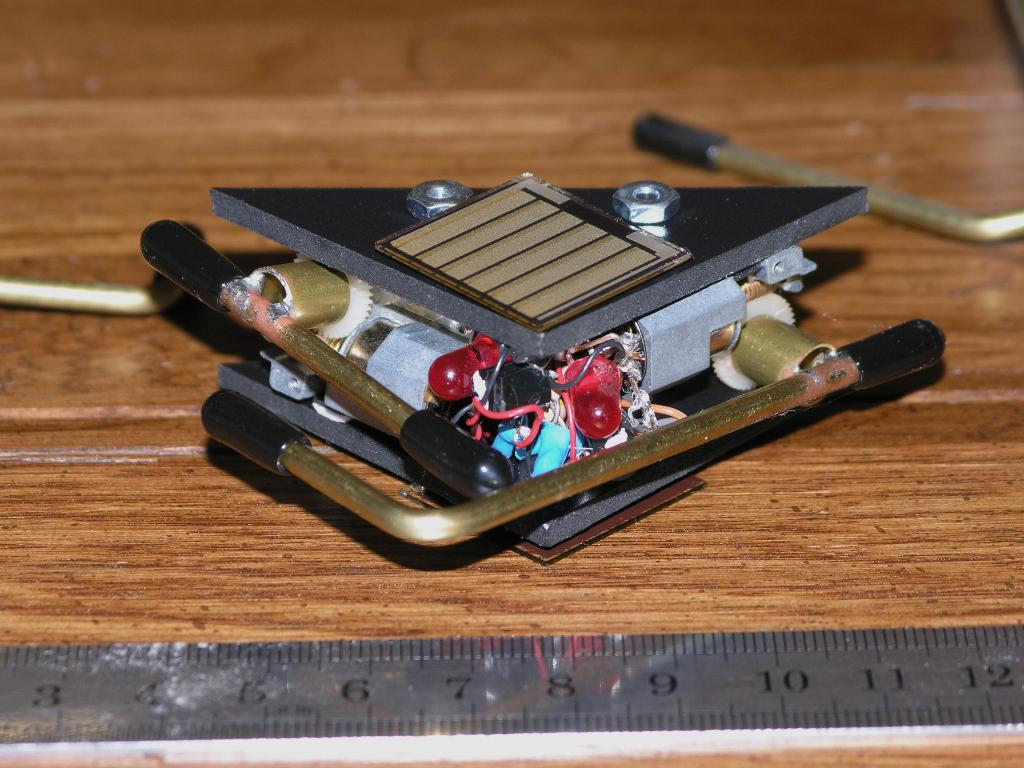
Cut out two triangles, measuring 5 by 5 by 7 cm, from 3mm black Sintra. Drill two 1/8Ē holes in the rear for the 4-40 bolts. Drill one 7/32Ē hole on one side for the motor to fit into.
Make the flagella. Cut two pieces of 9/32" brass tubing. Solder to 1/8Ē brass rods. Measure against the body, and bend one rod on a 90-degree angle. This is the flipping flagellum. Cut the other rod such that it will not touch the first. The short one is the turning flagellum.

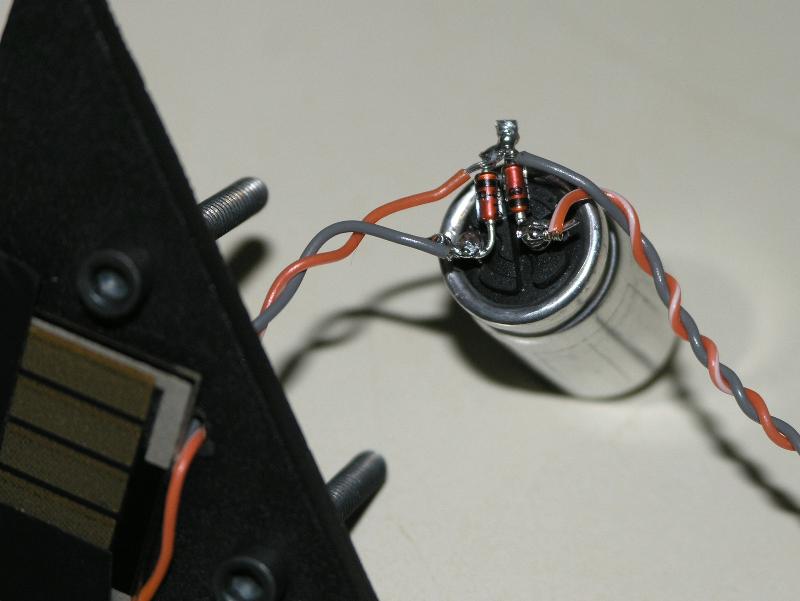
Solder wires to the solar cells and tape them in place. Run the wires to the 4700uF storage capacitor. Use two bypass diodes.
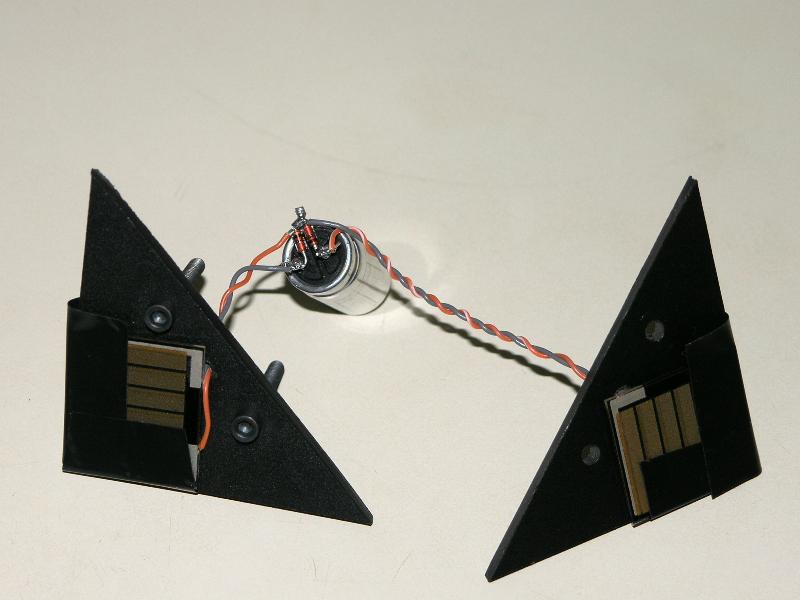
Free-form two Fred solar engines using these steps (Flip Boy).
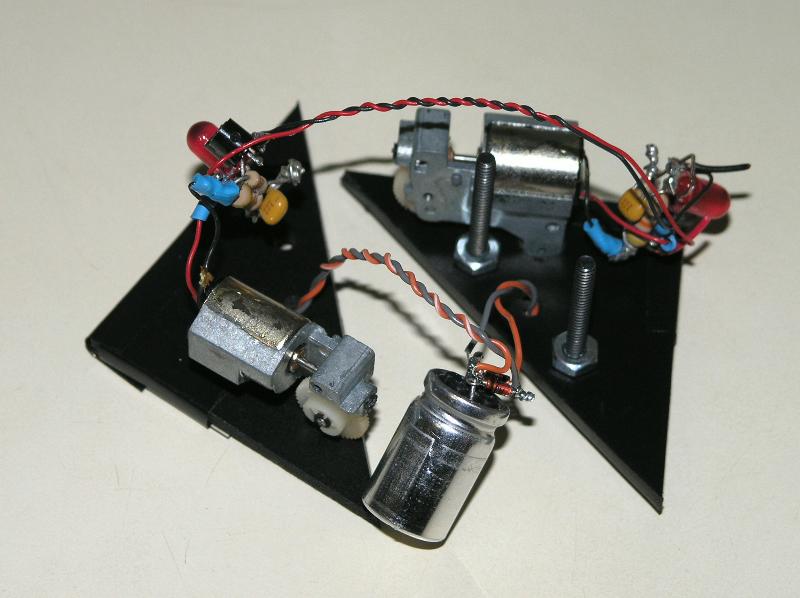
Bolt the top body panel to the bottom. Glue everything in place. Done.
Lessons Learned:
1) Not-so hot glue. We were trying different glues with Mini-Flip and Scuff. On Mini-Flip, we tried hot glue to attach the solar cells and motors. This did not work well. Best to stick with epoxy.
2) Better performance. The increased voltage and decreased storage capacitance (BP-2422s and 4700uF) leaves Mini-Flip more active than Flipper or Flip Boy.