Breadboard the motor driver and battery recharger.

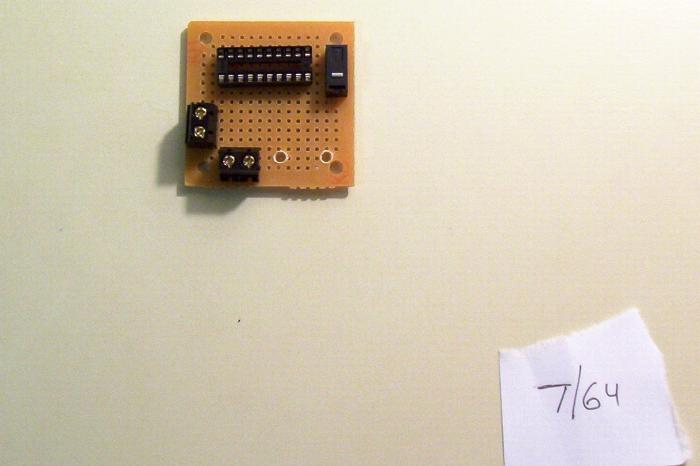
Solder down the 20-pin DIP socket. Solder the micro-switch to the left of the DIP. Solder the two terminal blocks in the right corner, facing outward.
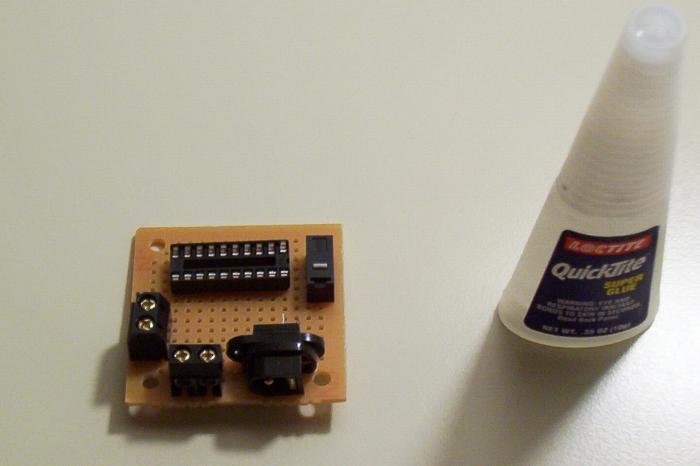
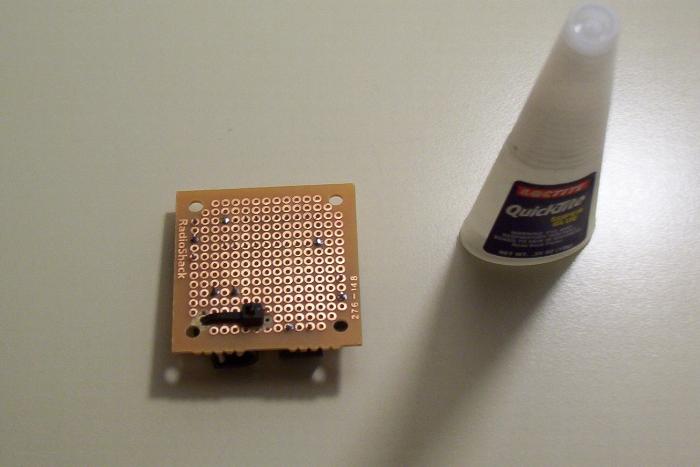
Drill two 7/64" holes into the perf board for the power jack.
Super glue the power jack to the perf board. Secure using a wire tie.
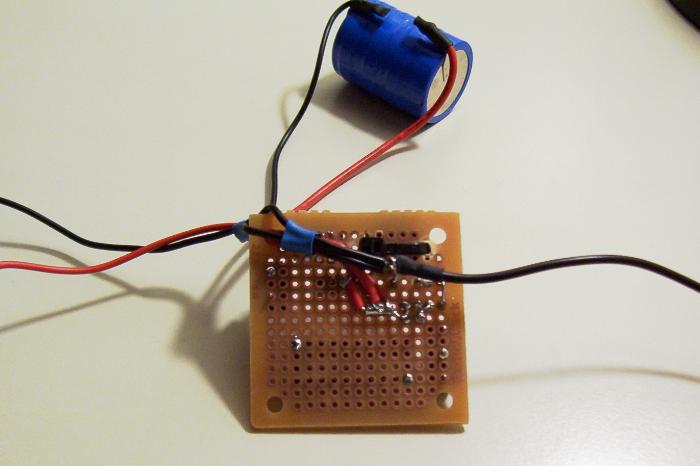
Wire the batteries in parallel, feed the wires thru the mounting hole in the perf board, and secure with heat shrink. Solder to the motor driver board.
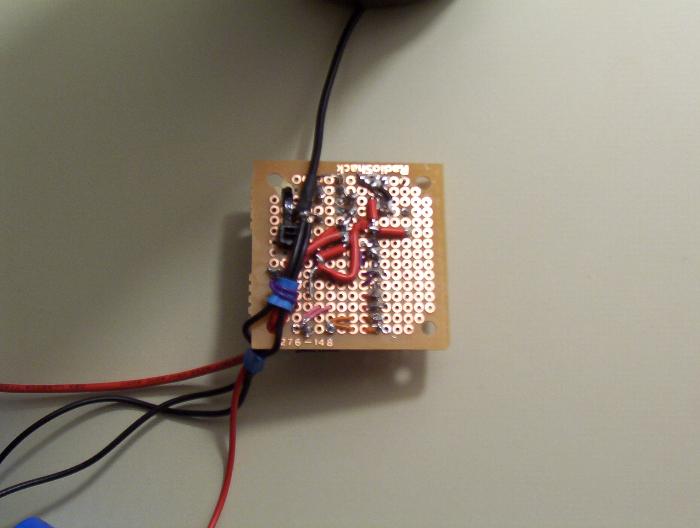
Build the battery charger circuit above the power jack. Use the red LED to indicate charging.

We use a pair of 74AC245 buffers for each motor connection. Run a pair of brown wires and a pair of purple to the first motor terminal. Run a pair of pink and a pair of orange wires to the second motor terminal.

Run a white line from the 74AC245 enable to the switch's C lead. Solder the switch's NC lead to Gnd, the NO lead to Vcc. The green LED indicates that the 74AC245 is enabled. Solder this to the switch's C.
When pressed, the switch toggles the 74AC245's Enable to Vcc, disabling the motors and turning off the LED.