Building a Solar Engine Dynamometer
Assembling BETS1
Building the Base
Finishing Up
Conclusion
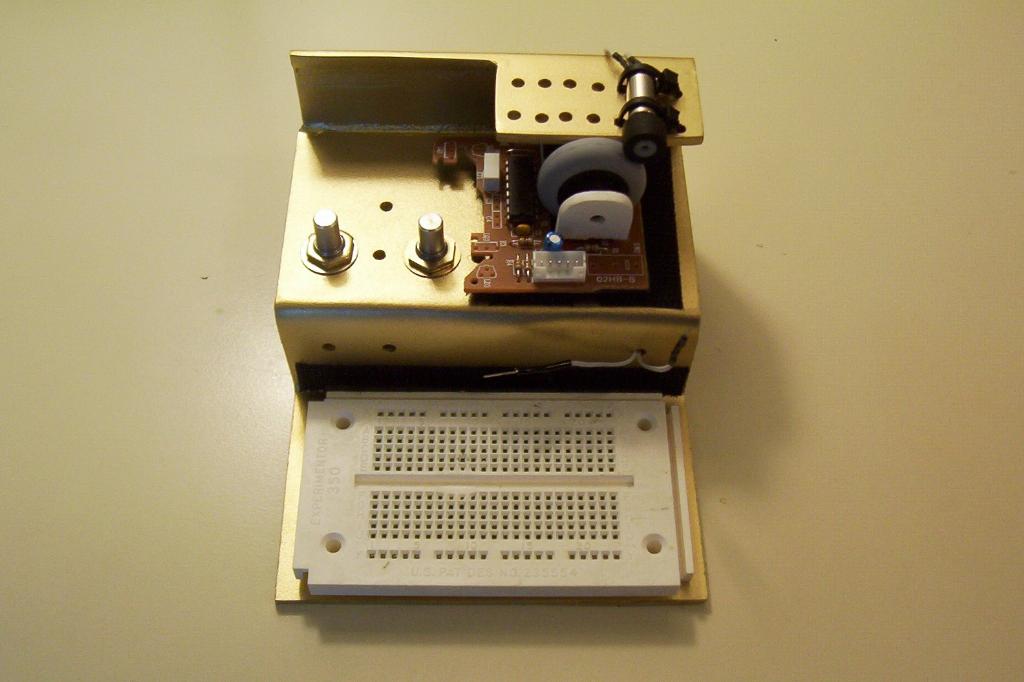
Conclusion, Looking ForwardIf you have completed the instructions to this point, you will now have a functioning test stand featuring an integrated motor mount, BETS1, and breadboard. All that remains to make this a true dynamometer is a testing application. In the next article, I will provide such an application, along with documentation on how to configure it for your particular motor and BETS1 combination. We will then run a sample test to show its accuracy, and explain some of the pros and cons of using a BETS1 mouse for the primary interface. J Wolfgang Goerlich |
|